Friday, April 25, 2014

Morel Mushrooms - It's That Time Of Year Again!

 I love the changing of the seasons, with each one comes something new and exciting!   I especially enjoy foraging for Morels.  Just as soon as winter breaks and before it gets to warm, it's time to head to the woods.   Morels flourish in cool damp conditions and it's always a little difficult to hit the season just right.
Although this is our busiest time of the year, Larry and I will try to take a few minutes out of the day once or twice a week and sneak off for the woods and look for fungi.  It really doesn't take long, we go to our regular spots, we can tell pretty quickly if we're to early for the shrooms, then we'll give it a couple of days and check again.


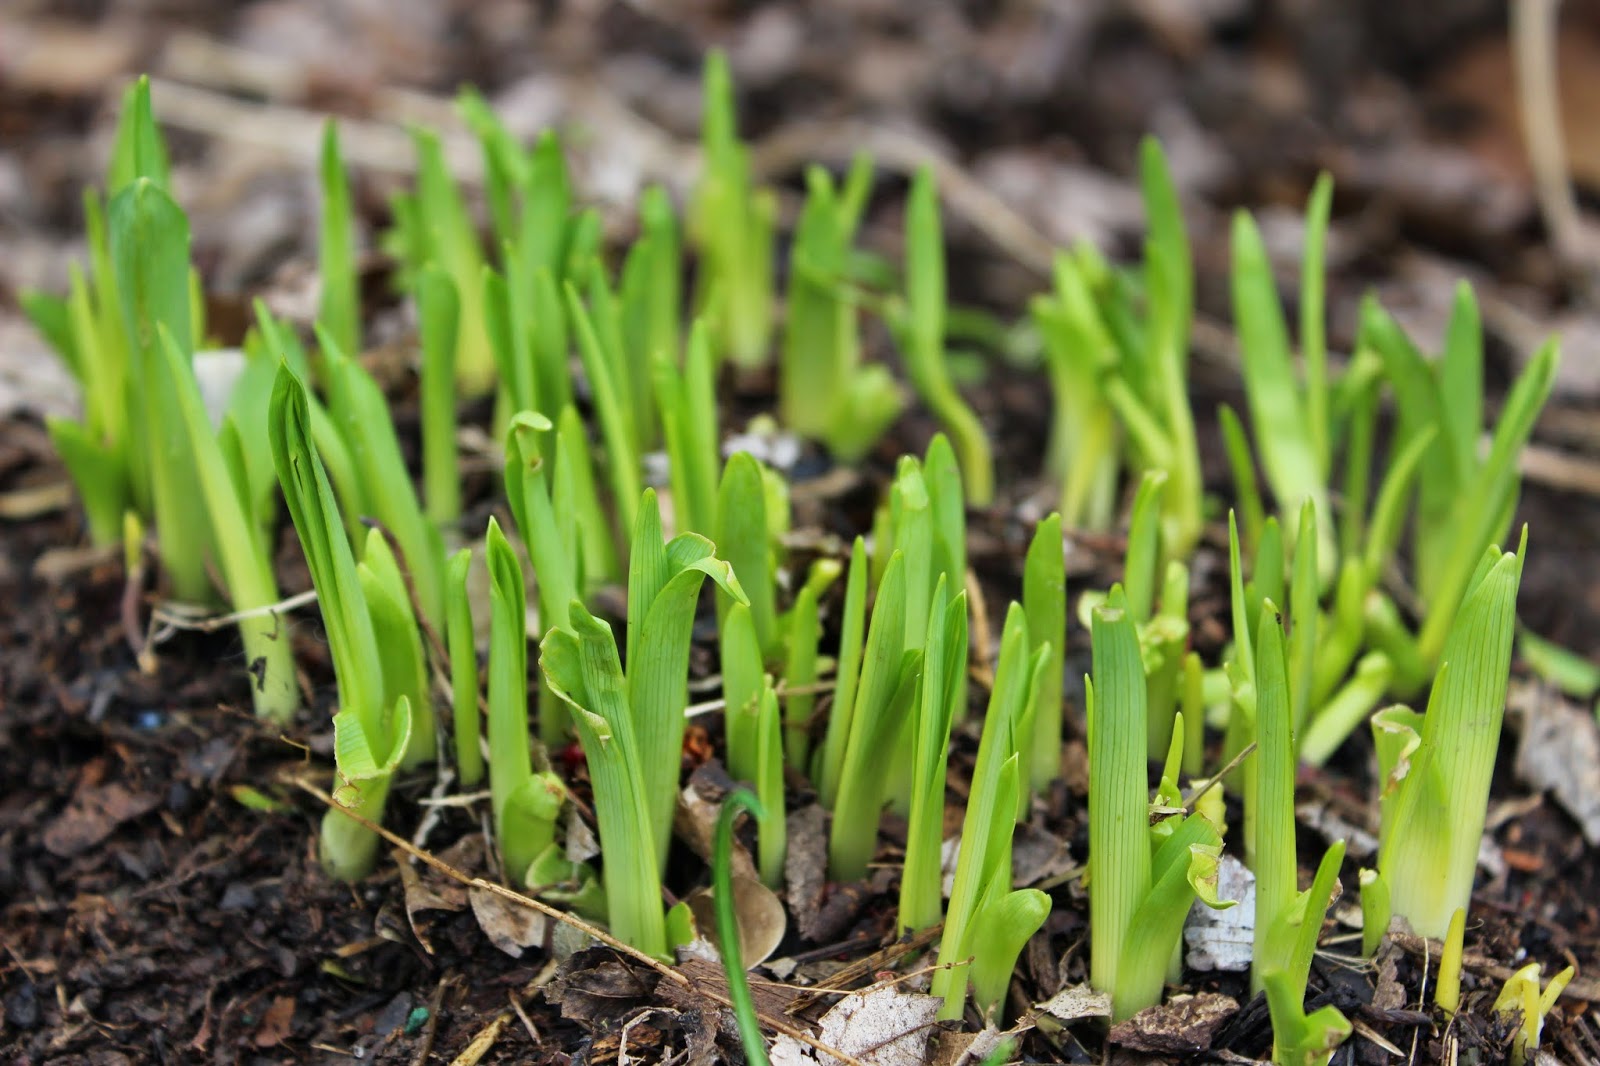
The first time we went this year we didn't find anything so I began looking around and enjoying the other pretty things growing.  As I'm crawling around in the leaves snapping pictures of flowers Larry comes over to see if maybe I found some.  Nope just admiring the pretty flowers.  I think this is a bleeding heart.  He says I thought we were hunting mushrooms...


This trip to the woods produced no bounty but I very much enjoyed every minute of it.  It's nice to get away and have some alone time, hear the birds sing and feel the sunshine on your face.


The next week we hit the woods again with better luck.  Morels are shaped like little Christmas trees and have an off white stem. The top of the morel can be brown or an off white or grayish color.


The second time we went, We met my sister and her husband and daughter in the woods to hunt together.  It's fun to hear someone holler "I found one" then you see everyone slowly start heading in that direction.   Well you never know, they may have found more than they can manage to pick on their own.  Kelly Garrett is a quite sneaky picker and never let's us know if he found one. Thanks Christina for showing us Kelly's secret foraging spot, We'll be sure to beat Kelly out there next year.


This year I'm going to dry some of the Morels so that we can use them at a later date.  You can put them in a dehydrator or just lay them on a cookie cooling rack to dry, once they are fully dry, bag them up and save for later.  When your ready to use them, place the dry Morels in water and they will plump back up within a few minutes and are ready to to use.


I usually batter the Morels and fry them in oil, this year I decided to try them stir fried with snow peas and asparagus.  Wow they are really good stir fired!

Do you forage for mushrooms?  What edible varieties are you finding in your area?  Come on share with us.  Fungi hunters often take their secrets to the grave with them, don't do that, share your knowledge.
Happy Hunting!
Angie

Friday, April 18, 2014

Adventures in Bee Keeping - Part 2

Last week I shared with you that we are embarking on a new adventure with apiculture.  Well Wednesday evening Larry and I drove to Paducah Kentucky to The Bee Barn and picked up our two packages of bees.  The whole process was exciting and frighting, since we really didn't know what to expect.
    The folks at The Bee Barn have restored this beautiful old barn to keep all their bee supplies in.  I didn't get to go through the barn but would love too.  Maybe next time.

This is the Apiary or bee yard at The Bee Barn, with nucs set up ready for customers to come pick them up.  A Nuc is a small established hive.  Larry and I did not purchase a Nuc we purchased two packages of bees.  This will be a screened box of bees weighing approximately three pounds, with a queen in a small separate box.  For some reason since we would be crossing state lines we were not allowed to purchase a Nuc.  
The bee packages had just arrived from Georgia in the back end of this vehicle.  We were told to pick out the two packages we would like to have.  That was a little scary since there was a few escapees.   We loaded the 2 boxes in the back seat of our truck and hoped for the best.  Larry is allergic to bees and we were traveling with no epipen, nothing like living on the edge.  It was dark by the time we got them loaded up and back on the road.  We never heard so much as even a buzz from the bees the whole way home.  We left them in the truck over night and hoped that there was no malfunction in the boxes over night. 


The next morning we were ready to introduce the bees to their new home.  We were both a bit on edge and not sure what to expect.  To begin we removed the top of the box and pulled the can of syrup out of the box.  Before you do this part you need to give the box a good bump on one corner to knock all the bees to the bottom of the box and then pull the can out.

Once you have the can of syrup out you will see the queen hanging in her little box, her box is hanging by that piece of tape.
Packed in with the queen are three or four nurse bees.  Each end of this little box has a small whole in it.  One end has a cork in it and the other end has a piece of candy.  The bees will eat the candy and release the queen.  If the queen is not released in three days we are to let her out and hope that the colony loves her.
  
 The next step is to place the queen between two frames.


Next start shaking in bees like crazy and hope they don't come out mad as hornets! 


They hit the bottom of the box and just stayed there, so far so good.  No attacking swarm of killer bees that I had pictured in my mind.  They just sat there all nice and calm.  We sprayed them with a little sugar water and closed up the box.

Later that evening we noticed that the bees were hard at work and as we watched we figured out what it was that they are doing.   Their first task was to get rid of the dead.  They carried them out one by one and deposited them on the ground.

The bee team checking out the bees the next morning.  No stings, just happy bees eating sugar water so far.  
Have a Blessed Easter!
Angie

Wednesday, April 16, 2014

Winner Of The Nite Guard Solar Unit And Repellent Tape

Winner Winner Chicken Dinner!!
THE LUCKY WINNER IS.....

 MINDIE DITTEMORE

Congratulations Mindie, we hope the Nite Guard Solar unit and Repellent tape will greatly help to increase your flocks safety!!
Mindie please email me with your mailing address at larry_angie@chickenstratchpoultry.com


Thanks to everyone who signed up and left us a comment!
Stay tuned for more giveaways in the future.
Angie & Melissa 

Tuesday, April 15, 2014

Don't Forget The Nite Guard Giveway!

We just want to remind you all that today is the last full day to get your name in for the Nite Guard giveaway.  Our friends at Nite Guard have generously offered to give one of our readers a Two Light Nite Guard Solar System, and a roll of Nite Guard Repellent Tape. 

We will choose a winner tomorrow, April 16 at 12:00 pm.  To enter you must:


1. Be a follower here on the Chicken Scratch Poultry Blog.  To do this scroll down on the blog page looking to the left and put your E-mail in the box where it says, follow us by e-mail.  
2.  Head over to Nite Guard's Facebook page and like them.  This link:https://www.facebook.com/niteguardllc will take you there.
3.  Like Chicken Scratch Poultry's Facebook page.  This link:https://www.facebook.com/pages/Chicken-Scratch-Poultry/341258592560021 will take you there.
4.  Last, leave us a comment and tell us what kind of livestock you plan to protect with the Nite Guard Solar 2 Light System and the Nite Guard Repellent Tape.

Friday, April 11, 2014

Adventures In Bee Keeping

Last year Larry and I decided we would embark on the adventure of Apiculture.  No we're not going to be keeping apes, just Honey Bees.  We've read books, watched videos, talked with other bee keepers, ordered bees and all the supplies that should help get the bees off to a good start. Now we just need to get Larry a fresh Epipen since he's allergic to bees, sounds crazy I know but we always live on the edge around here.
Most everything we read about starting out, it's best to begin with two hives, if one hive should not survive then you still have one.  Which made it sound to us that it can be very difficult to establish a hive, so we took the advise we read and will be starting with two.  However if both hives survive we will have more honey than we will know what to do with.   You can expect 100 pounds of honey from a healthy hive, wow that's a lot of honey.  From what I read people start keeping bees because of the bees but quit because of the honey.  My hope is that while taking on this new project I totally enjoy the whole process.  Honey Bees are dying off at an alarming rate and it's important for people to take an interest, without the bees nothing survives.


While researching it seems like the most important thing right from the beginning is to give your bees the best possible start.  So to begin we purchased bees wax, melted it and applied it to the foundations.  Foundations are what the bees are going to attache their wax to and fill with brood. This will give the bees the wax to work with right from the beginning, that way they won't need to work so hard producing wax and can work on producing and growing the hive.  Foundations do come with a small amount of wax already applied but it seems like a good idea to give them more.
  It smelled so good in the kitchen as we melted the wax and painted it on the foundations.
This is a stack of frames with foundations waxed and ready to go back in the bee boxes.
Frames are back in the box and ready to go.  The Yellow cups in the box are feeders, this is another way to help get your bees off to a good start.  Once the bees are in the box we will need to feed them sugar water every day until we think they are well established.
Larry moving the hives up to the apiary, or the bee yard.  We don't have the bees yet, we should get them on April 17.  
Your hives should be set up off of the ground to keep them dry and away from skunks.  Apparently skunks like to eat bees.  We might need to raise them a little higher, not sure about that yet.  We have so much to learn.
 Now we just need bees.  We have more boxes ready to go to add on top as the bees begin to produce.  Now let's just hope we can be a success with honey bees.  
If you have some good advise for first time bee keepers we would love to hear from you.
Have a great day!
Angie 

Proverbs 25:16  If you find honey, eat just enough-- too much of it, and you will vomit.
(Sounds like good advice if your going to have 100 pounds of honey...)


Wednesday, April 9, 2014

Keep your Flock Safe: Nite Guard Solar and Nite Guard Repellent Tape Giveaway!


With spring comes the arrival of new and vulnerable chicks.  After all of the time, money, and love put into raising baby chicks it is no wonder we are always looking for ways to protect them.  This week we are excited to team up with Nite Guard, to educate you on a great way to keep your flock or other live stock safe.


The family owned Nite Guard company has studied predators and their instincts, using that information to create Nite Guard Solar.  The Nite Guard Solar unit uses the flash of a light to fool the predator into thinking that a bigger and more ferocious predator may be lurking.  By using multiple Nite Guard Solar units one can better protect their entire coop or livestock pen.  Thus preventing predators from even attacking your flock.
3 Easy steps to keeping your coop safe!

Since Nite Guard Solar is only effective during the night time hours, the company has also created a solution for keeping daytime predators at bay.  Nite Guard Repellent Tape is durable holographic tape that uses light and noise to keep away predators from ground and air.  The extra wide iridescent tape works very well for keeping hawks away.  It is noisier, brighter, and last longer than other repellent tapes.


It is so very tragic to loose livestock to predators.  Nite Guard has done a great job of coming up with effective and economical ways to protect against devastating attacks.

We are excited to announce that our friends at Nite Guard are going to give away a Two Light Nite Guard Solar System and a roll of Nite Guard Repellent Tape to one of you!  

You will have one week to get your name in for the giveaway. It starts today, April 9 and will end April 16 at 12:00 pm.  

To enter you need:

1. Be a follower here on the Chicken Scratch Poultry Blog.  To do this scroll down on the blog page looking to the left and put your E-mail in the box where it says, follow us by e-mail.  
2.  Head over to Nite Guard's Facebook page and like them.  This link: https://www.facebook.com/niteguardllc will take you there.
3.  Like Chicken Scratch Poultry's Facebook page.  This link: https://www.facebook.com/pages/Chicken-Scratch-Poultry/341258592560021 will take you there.
4.  Last, leave us a comment and tell us what kind of livestock you plan to protect with the Nite Guard Solar 2 Light System and the Nite Guard Repellent Tape.

Saturday, April 5, 2014

April Showers... Bring May Flowers

If April showers bring May flowers, then we should be all set for some beautiful flowers come May. While the recent rain we got may have been a bit much, I know that everything looking green and alive again follows.  I am looking so forward to color in our world!  Nothing screams out spring to me like a vibrant green wheat field or the neon green haze that surrounds trees just getting their leaves.  This is what spring is looking like around our farm, comment and let us know what it looks like around yours.

Perennials peaking through the ground.


Meeting of the minds.


Who needs plastic Easter eggs?


Flooding rain brings the crawdads out to play.


Happy Spring!!!


God Bless,
 
Melissa


Wednesday, April 2, 2014

Homemade Mayonnaise

Last week I was rummaging through the pantry trying to find some mayonnaise,
with no luck.  It seems I rarely find the time to make it to the grocery store these days.  I figured, I have eggs I'll just make some.  
Now that spring has sprung, well kind of...you should be see an increase in egg production in your coops.  With that increase in eggs lets make something quick, easy and yummy.


Ingredients Needed

2 Eggs yolks
3/4 teaspoon salt
1/2 teaspoon powdered mustard
1/8 teaspoon sugar
pinch cayenne pepper
4 to 5 teaspoons vinegar
1-1/2 cups salad oil
4 teaspoons warm water

Begin by separating 2 farm fresh egg yolks, you can use store bought eggs but you might as well pick up a jar of mayo, just kidding.   Combine egg yolks, salt, mustard, sugar, pepper, and 1 teaspoon vinegar, beat on medium speed with a mixer until very thick and pale yellow.  Add about 1/4 cup oil very slowly while mixing.   Add in 1 teaspoon of vinegar and 1 teaspoon of water.  Drizzle in another 1/4 cup oil while vigorously mixing and another teaspoon of vinegar and water.  Add in 1/2 cup oil in a very fine steady stream mixing constantly, then add in remaining vinegar and water.

The farm fresh eggs make a pretty yellow mayonnaise and tasty too.  You can spice it up with dill, Thyme or turn up the heat with the cayenne pepper.
Do not keep longer than 1 week.

Enjoy!
Angie