Friday, May 30, 2014

Farm Happenings

Here on the farm it seems the work is never done.  When we finish a large project we always think, now let's not start any new projects for awhile, well that thought never last very long before we dive head first into the next one.  Our projects often entail trying to make our farm operate easier to get each daily task finished quicker and a little more automated.  There are only so many things that you can automate on a chicken farm though.
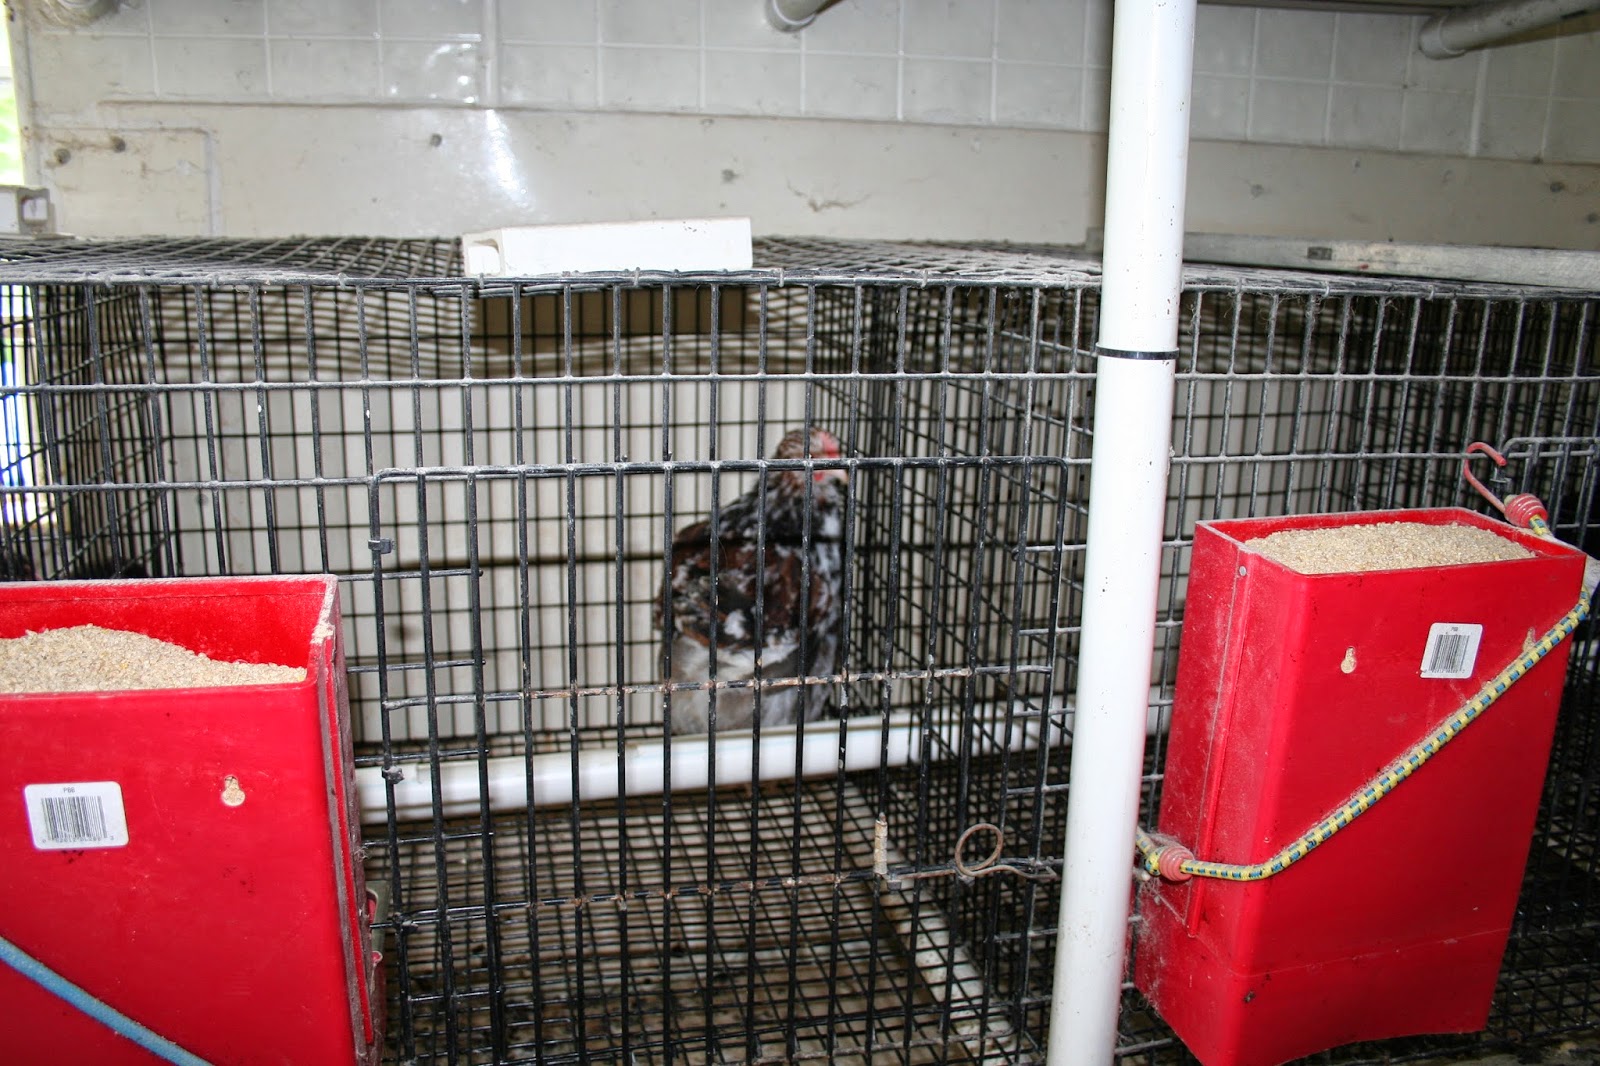
Our biggest project so far this spring has been trying to make our pullet shed as automate as possible.  We purchased and moved this shed to the farm last fall.  It set empty all winter and now we're beginning to put it to use.  The shed is used to house young pullets until they are shipped out.  Each Saturday I catch up orders and pen up the birds together for each order.
Then on Monday mornings I can just put the birds in the box and ship them off.  It's really not as easy as that but that's the short version.

Before we got the shed it was used as a dog kennel, so it came with several cages down one side.  Larry has since installed quail cages down the left side of the shed.  They are the perfect size for small pullets.  Really the dog cages are to big, they allow the pullets to much room and they climb and walk on each other which pulls the feathers off of their backs.  So I see another project of revamp the dog cages...
Under each cage there are slanted trays that catch the droppings, each day you can rinse this off.  We still need to install a styptic system for this to rinse into.
Running through each pen is PVC pipe with a hole cut in the top.  Water is circulated through the pipe from a tub with a goldfish pond pump and the water is changed each day.
The young Jubilee orpington rooster  to your left is penned up to grow out his beautiful tail so he can be shipped off to his new home looking handsome as ever.
The pullet shed is working out very well it makes shipping out pullets easier and gives us a place to get birds looking nice before they leave the farm.


Here at Chicken Scratch Poultry we have two part time employees.  The young lady to your right is my daughter Heather, we call her the inoculater.  She has many jobs here on the farm but she is the only one who vaccinates the birds.  All chicks left over after orders are filled each week receive the Marek's vaccine. You can also pay to have your chicks vaccinated before shipment.  It's a good idea to vaccinate chicks for Marek's and it has to be done the first three days of life.


It looks painful but by the time they are back in the box they have forgotten all about it.  The needle is very tiny and it happens very quick. She holds them by the scruff of the neck, insert the needle into the flap of skin, pull the trigger and that's it.


This is my niece Melissa, she is my right hand blogger, I can't really call her an employee sense it is not a paid position.  She is a great help to me and she always has something great to share on the blog.

The young man to your right is Lane, he's worked on the farm now for about two years and is such a great help!  I don't know what we would do without him.  He has several jobs.   Feeding, watering, strawing the laying boxes, scooping out pens and changing out poopie papers under the brooders.  I told Lane a few days ago I would see if I can get him on the show Dirtiest Jobs.  He really does have a sticken, dirty, hot job and we never hear him complain.  Maybe he complains to the chickens.
If you ever happen to look on Facebook at the Chicken Scratch Poultry employees, you will see about eight people who claim to be employees at Chicken Scratch Poultry.  I'd like to know where these employees were this past winter when the water system froze in the barn and I needed their help.  Or when it's 110 degrees out side and all the birds need a fan.  I guess on Facebook you can claim to be anyone and work anywhere.
The people pictured here on this blog are the only true employees we have on the farm and they do a great job!  I'd like to says thanks to Lane, Heather and Melissa, without you the farm would not run nearly so smooth.
Have a great weekend!
Angie

Friday, May 23, 2014

Cinnamon Braid Recipe

It has been a while since I have shared a recipe with you all.  I thought I would share this one before the weather is too hot for much baking.  In the last couple months this Cinnamon Braid has become a favorite in my immediate and extended family.  It's presence is often requested at our Sunday dinner.  The Cinnamon Braid is made up of ingredients I always keep in my pantry, is easy, and it just looks soo pretty!

First we will start with the dough.  My favorite dough to use is this recipe, that I shared with you all last year.  I almost always keep homemade pizza dough in the freezer and have used it too.  The first option is my favorite but, I don't think anyone will complain if you make the braid with pizza dough. 

When your dough is ready and you start to roll out the cinnamon braid try to achieve a long and narrow rectangle.  The rolled out dough needs to be about 1/2 in. thick.  Now you are ready to spread your filling onto the dough.


To make the filling you will need:

1 cup of brown sugar
4 TBS of melted butter
1 tsp of cinnamon
1 TBS of flour

Melt the butter, then add the brown sugar, cinnamon, and flour.  Stir until combined, then spread it onto the dough. 

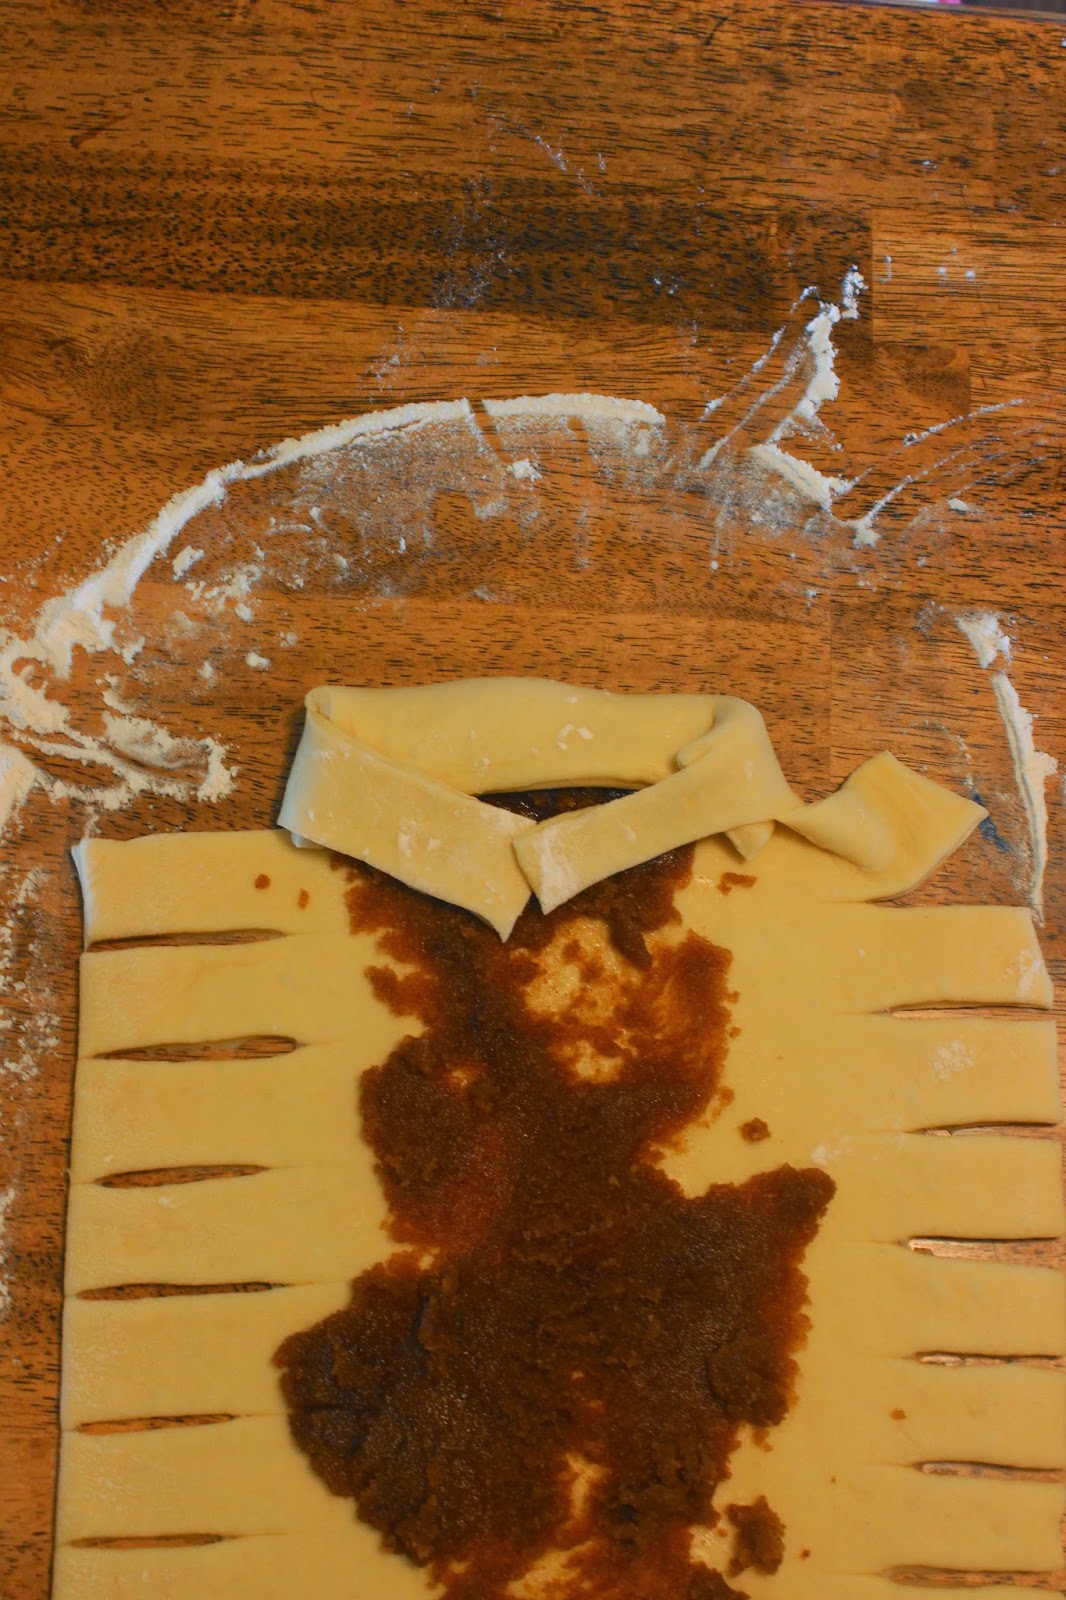
Now comes the braiding.  Do not let this step scare you.  Hopefully my pictures will be a good aide.  Use a pizza cutter to cut strips down both long edges of the dough.  Start at one narrow end of the dough by cutting off the first strip on both sides.

Cut of the first strip on each side.

Then fold the end over like seen in the picture below.  Now starting with either long side fold in a strip and then go to the other side folding in that strip.  If you look at the picture below you can see that the strips of dough partially over lap each other so it looks braided, when it is really not.


 Continue this until you are two strips from the end.  Now you are going to cut of the last strip off each side.  Fold the end over and then finish by folding the last strips over the folded end.  ( I know that might sound more confusing than it is.)

Fold the end in and then the last strips over that.

Ready to bake.

  Now that the Cinnamon Braid is ready to go, it will be baked at 400 degrees for about 15 min. or until golden brown. 

The last step in this recipe is to add the glaze to the Cinnamon Braid.  To make the glaze you will melt 3 TBS of butter.  Then add 1 cup of powdered sugar and 1 tsp of vanilla to it.  Stir this up and then SLOWLY add hot water to the mixture to make it the right consistency.  The glaze needs to be drizzled over the braid.  If you get the glaze to thin leave it alone for a few minutes and it will thicken up.  I usually add the glaze when the Cinnamon Braid has cooled off and is just warm.  If you add it too soon the glaze will just soak in and not sit on top. 

Definitely a crowd pleaser!

I know that this recipe seems to have a lot of steps.  Do not let my mile long post deceive you.  This is one of the easiest deserts I have made.  Once you make it a few times you will see how easy it is and discover how fun it is to be creative.  I like to try new things and have made it with cherry, strawberry and apple cinnamon fillings and taken it in the savory direction by adding cheese and pepperonis for a quick dinner.  I enjoy making recipes like this because it allows me to experiment.  Hope you enjoy it too!

God Bless
Melissa

Friday, May 16, 2014

Catching A Swarm Of Bees - Part 2

Last week I shared with you about catching the swarm of bees and thought I would finish up this week on how we transported them to  their new home and into the hive.  

Once we had the bees out of the tree and into a large box, we sealed up the box and put them into the back of the truck and off towards home we went.  I am pretty sure I could be an adrenaline junkie  because that was amazingly fun!


This picture of my mom cracks me up, she's telling me we've got to hurry the bees are getting hot and upset.  We could hear them hitting the inside of the box.  Calm down mother we're all coming down from an adrenaline high, they'll be ok.
Once we made it home with the bees, Larry had to very quickly make a top cover and bottom board for a hive.  We had one extra box but no bottom or top.  We weren't expecting a new bee family.
With Larry's quick construction complete, now to get those bees from the cardboard box into the hive.  As you know we are new at this.  Our first plan was to sit the cardboard box at the opening of the hive and the bees would see this lovely new home and walk right in.  Hee Hee seems pretty funny right now.  Didn't happen like that...time for a new plan.


Larry picks up the box and gives it a good wamoo and the bees bounce into the hive.  Once again we are not stung to death, the queen is in the box and all the bees go in after her.


There are many more bees in this box than what you can see at this time, they are already down in between the frames checking things out.  The brown clump of stuff is pollen cakes for the bees to eat.  

In no time at all, the bees are checking out the entrance to the hive and by the end of the day they are working and foraging.  They are amazing creatures!
I can tell from watching our two other hives that we purchased as packages of bees and comparing them to this hive.  Just within under two weeks time, this hive of bees has almost completely filled all the frames with comb and will soon need a new box on top.
Since we have caught this swarm from my mother's tree, the hive in her tree has swarmed once again.  They were too high up in the tree for me to get them and Larry wasn't home to help me that day, so we missed out on that batch of bees.
If you plan on getting into bees I recommend getting a nucleus hive instead of a package of bees, the difference is very clear.
Have a great weekend!
Angie


Friday, May 9, 2014

Adventures In Catching A Swarm Of Bees - Part One

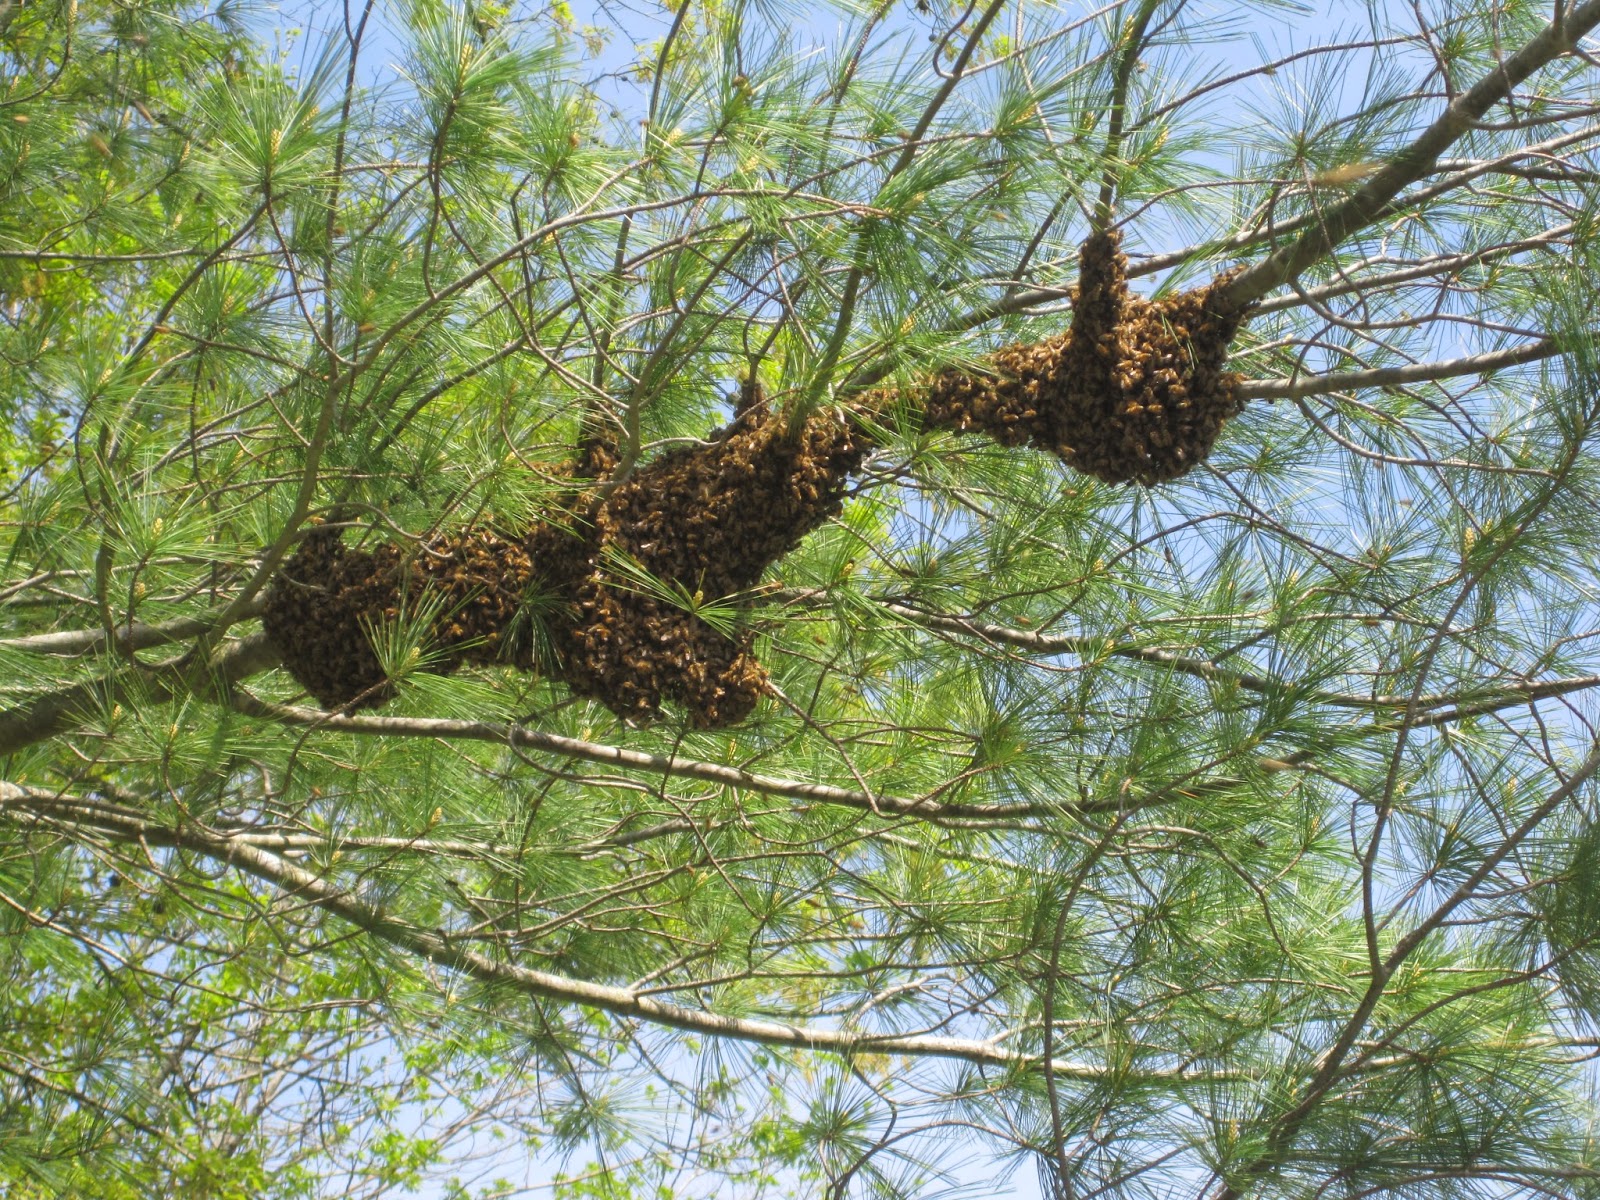
My mother and father have a bee hive in a tree in their front yard.  Each year the hive swarms and splits off at least once, sometimes twice.  The bees have probably been in this tree for five years or more.  They're always very docile and tolerate people very well.  My mother feeds them and occasionally you'll see some following her around as if to say "Here's the lady who feeds us."


Since we have decided to have a couple of hives on our farm, I told my mother to watch and let us know if her bees swarmed this year so  we could try to come and get them.  Well last Saturday I received the phone call,  "hurry and get to moms house the bees are swarming"!!  How exciting, Larry and I grabbed our bee gear and headed off.

When we got to town, my mother, father, brother in law and sister were all standing outside looking up at the mass of bees.
We all stood there for awhile and pondered the subject of how to best get a swarm of bees out of a tree....


Our first plan was to cut the limb from the ground,  after rethinking that for a few minuets we decided that wasn't the best idea.  I pictured the limb hitting the ground and complete carnage after that.  So on to plan two, bring in another ladder.


Our new plan was for me and Larry to both be on ladders, Larry would cut the limb and I would keep it from hitting the ground with force.  Not the greatest plan since the limb was heavier than what I could handle once it was cut.  Once Larry cut it I was able to let it down slowly, but it still hit the ground with some force.  When it hit all six of us were engulfed in bees. We all looked at each other wide eyed as if to say, "good bye family we are now going to die!"


As we stood there looking at each other in a hurricane of bees, we watched as in pretty quick time the bees went right back into a clump with the queen.  Amazingly not one person was stung. See the small box on the ground beside me, that's what we brought to put the bees in, kind of laughable now.  As I mentioned we don't know what we're doing.  Poor bees.
It didn't take us long to upgrade to a much bigger box.


We decided the best thing to do was cut off all the small limbs to make the big limb fit in a larger box.  The queen was on the limb and it seemed this would be the best way to transport them.


We put the limb in a bigger box, gave the bees a few minutes to fly inside and join their queen, then we closed the box.  Carefully we put them in the back of the truck and we were ready to transport them to their new home.
Holy cow, was that ever a heart pounding, frighting, exciting time.  Hard to believe no one was stung to death!
Stay tuned, next week I'll share, how get an angry swarm of bees out of big box.
Hope you enjoy the crazy thing that happen here at Chicken Scratch Poultry, there really isn't ever a dull moment!